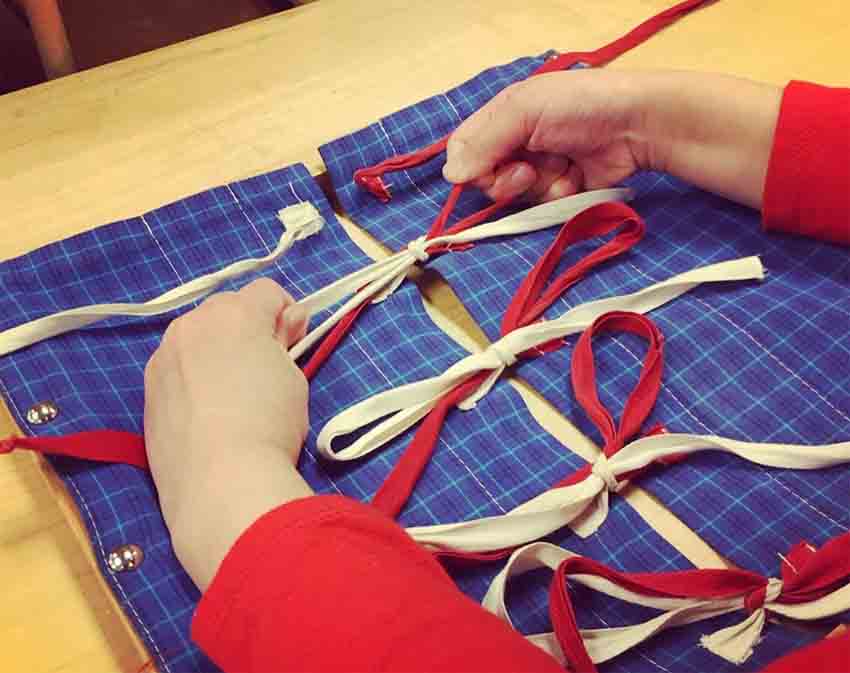
Lacing Frame
Invite a child to come by telling them you have something to show them. Have the child bring the appropriate dressing frame and have them place it on a specific spot on the table you will be working at. Have the child sit down first, and then you sit down to the child’s right. Tell the child that you will be showing him how unlace and lace. Give the names of each part.
Unlacing
- Begin by untying the bow at the bottom of the lace.
- Pinch under the bottom right hole of the right flap with your right thumb and index finger.
- Slightly rotate it up so the child can see the under part of the hole.
- Pinch the lace where it comes out of the hole with your left thumb and index finger.
- Pull the lace out is small increments.
- When you get close to the end of the lace, slowly pull it out so the child understands to not just pull out the entire lace quickly.
- Place the bottom of the flap back down flat and unpinch your right fingers.
- Lay the lace flat out to the left and let go of the lace.
- Pinch right under the bottom hole of the left flap and slightly rotate it to the left.
- Pinch the lace where it comes out of the hole with your right thumb and index finger.
- Pull the lace out in small increments.
- When you get close to the end of the lace, slowly pull it out so the child once again sees that you should not quickly pull it out.
- Place the bottom of the flap back down flat and unpinch your left fingers.
- Lay the lace flat our to the right and let go of the lace.
- Repeat these movements alternating from right to left until the entire lace is out of the lacing frame.
- Set the lace above the frame.
- Open the right flat and then the left flap.
- Close the left flap and then the right.
Lacing up
- Pinch the tip of one end of the lace with your right thumb and index finger.
- Pinch the other end of the lace with your left thumb and index finger.
- Bring both tips together between your right pinch.
- Slide your left thumb and index finger down the two sides of string bringing them together until you get to where the middle part makes the two sides meet.
- Remove your left fingers.
- Place the lace so that the tips are close to the top holes and the rest of the lace is above the frame.
- Remove your right fingers.
- Pinch the part just above the top of the top right hole with your right thumb and index finger.
- Rotate the material slightly up so the child can see the under part of the hole.
- Pinch one of the tips of the lace with your left thumb and index finger.
- Carefully place the tip into the top right hole.
- Slide it through until the entire tip is through.
- Place the right flap down flat and unpinch your right fingers.
- Pinch the tip of the lace that has come through the hole with your right thumb and index finger.
- Remove your left fingers and place your left index and middle fingers down flat directly under the top right hole.
- Pull the lace out in small increments.
- Once you have pulled out about half the lace stop and unpinch your right fingers.
- Remove your left fingers.
- Pinch the part just above the top of the top left hole with your left thumb and index finger.
- Pinch the other tip of the lace with your right thumb and index finger.
- Carefully place the tip of the lace through the top left hole until the entire tip is through.
- Place the left flap down flat and unpinch your left fingers.
- Pinch the tip of the lace that has come through the hole with your left thumb and index finger.
- Remove your right fingers and place your right index and middle fingers down flat directly under the top left hole.
- Using your left fingers, pull the rest of the lace through this hole is small increments.
- Unpinch your left fingers and then remove your right fingers.
- Pinch the tip of the right part of the lace with your right thumb and index finger.
- Bring the lace up so it is perpendicular to the table.
- Pinch the tip of the left part of the lace with your left thumb and index finger.
- Bring this part of the lace so that it too is perpendicular to the table.
- Check to see that the two tips are at the same height, thus meaning that the two sides have been pulled through in equal length. If one side is shorter that the other, pull that side up a little and recheck the lengths.
- Repeat until the laces are of equal length.
- Place the left side of the lace down flat to the left and unpinch your left fingers.
- Place the right side of the lace down flat to the right and unpinch your right fingers.
- Repeat this process of placing the lace through the hole starting with lifting the top most right hole and placing the left side of the lace through.
- Once fully through, place it flat under the other lace.
- Continue by then lifting the top most left hole and placing the lace on the right that is above the other through the hole (There is no need to check the lengths of the lace)
- Repeat this until the lace has been laced through each hole.
- Tie a bow at the bottom.
Once done, offer the child the opportunity to unlace and lace.
Direct: To help them learn how to lace and unlace.
Indirect: Acquiring coordination of movement.
Making sure the pin is fully in the tab before beginning to zip.
4-5 years