Knobbed Cylinders
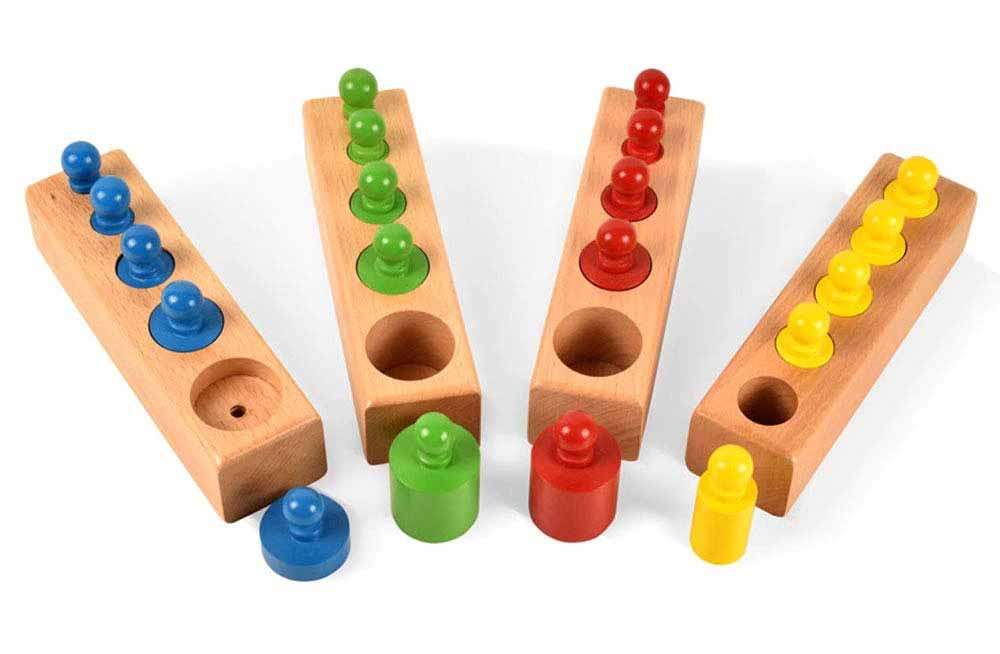
This material through and massive engages the senses of touch and sight. The material is comprised of 10 different cylinders with ‘knobs’ used to hold each object the usage of the pincer grip. Each cylinder fits into a specific hole on a strong block of wood.
There are four different variations of the Knobbed Cylinders, allowing children to venture different perceptions of preliminary mathematical concepts, collectively with weight and size. Each known cylinder block differs as follows:
- Block One: varies on top and diameter, ie. the tallest cylinder moreover has the widest diameter.
- Block Two: variation is based completely on the diameter of each hole.
- Block Three: varies on top and diameter, ie. the tallest cylinder moreover has the thinnest diameter.
- Block Four: variation is based mostly on the height of the cylinders.
Purpose
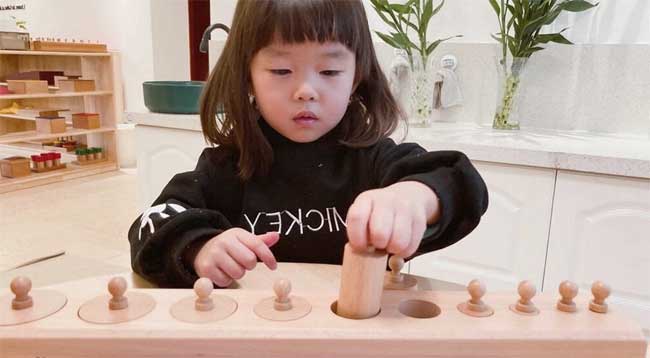
Children begin going for walks with the Knobbed Cylinders from the age of three years old. Knobbed Cylinders are Montessori sensorial materials in Montessori teachers training curriculum, which are normally used to teach children to visually discriminate amongst dimensions; however, as competency grows, little one can begin to differentiate with touch. This Montessori cloth moreover now no longer without delay prepares university college students for writing, as they begin coordinating their palms in a pincer grip, that is used later for holding pencils. It moreover lays the foundation for future paintings in mathematics and language, as children examine terms such as ‘height’ and ‘diameter’.
Presentation 1: Introducing the Knobbed Cylinder Block
- Invite the child to go back returned art work with you, and guide them to the Sensorial curriculum area.
- Identify the Knobbed Cylinders and pick out up the cloth thru gripping the block on every components with palms.
- Carry the cloth at waist height, parallel to the floor, to your art work mat or table area.
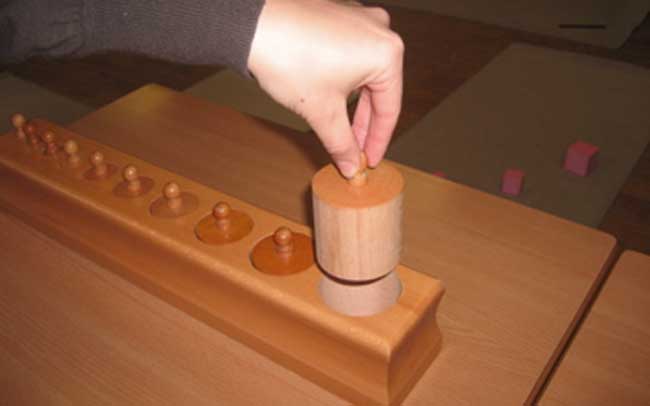
- Beginning on the maximum crucial cylinder, show the child the manner to take out each Knobbed Cylinder the usage of their thumb and forefingers (the pincer grip), thru grabbing the handle.
- Pause for a 2d as quickly because the cylinder clears the hole, to allow the child to appearance the scale of the whole cylinder. Place this cylinder withinside the the front of the wood block.
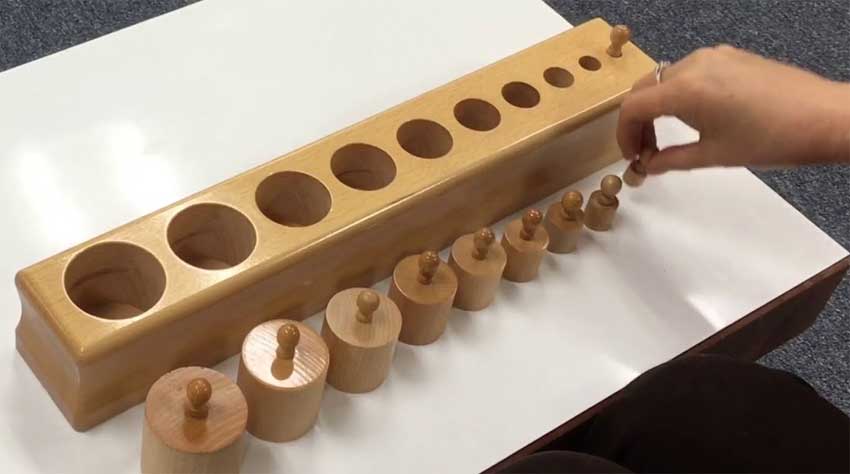
- Continue to dispose of each cylinder with withinside the equal manner, setting them in order withinside the the front of the wood block.
- This is commonly completed from largest to smallest. Once all cylinders had been removed, pick out up the number one cylinder that became removed from the wood block.
- Trace throughout the bottom of the cylinder the usage of the index and middle fingers. Using the ones equal finger, trace throughout the matching hole on the wood block.
- Place the cylinder in the precise hole slowly, allowing the child to study your movements.
- Repeat with the opportunity cylinders. Once all had been replaced, offer the child a turn, guiding them thru the activity as needed.
- Return the activity to the sensorial shelves as quickly as whole, making sure to preserve the cylinder blocks with withinside the equal manner as getting them out.
Presentation 2: Becoming Familiar with the Cylinders
Once the child can with any luck art work via presentation one for each Knobbed Cylinder block, begin to randomize the order of removing, placing, and placing once more each cylinder. This allows the child to end up familiar with finding the cylinder with the proper dimensions to fill each empty space.
Presentation 3 and Beyond
Once the child is comfortable with the presentation two, you can start to introduce more than one cylinder block known to the exercises. Begin with the ordered presentation one, in advance than conquering the randomization of presentation two.